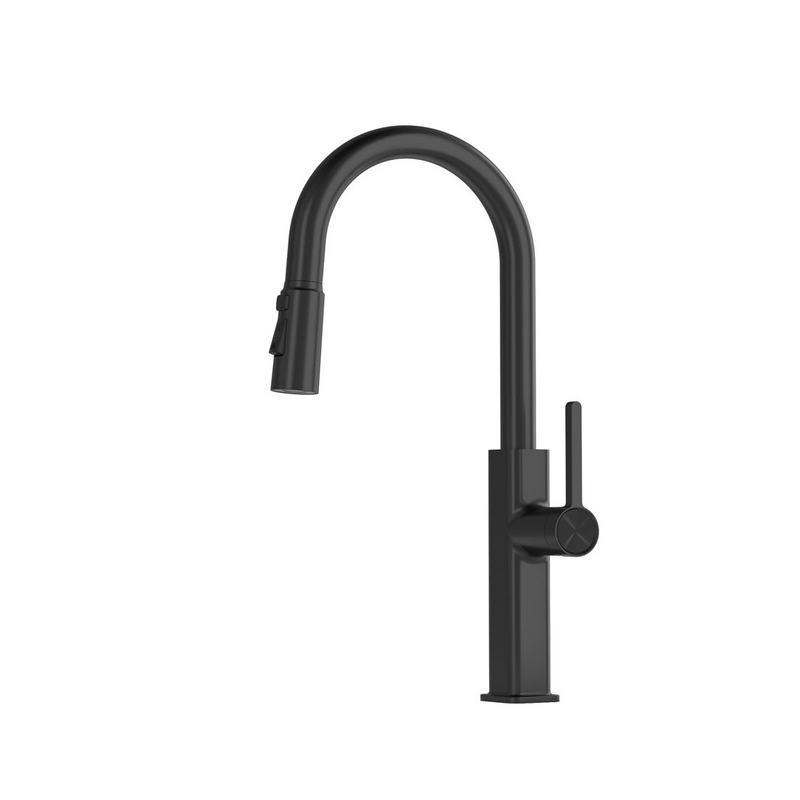
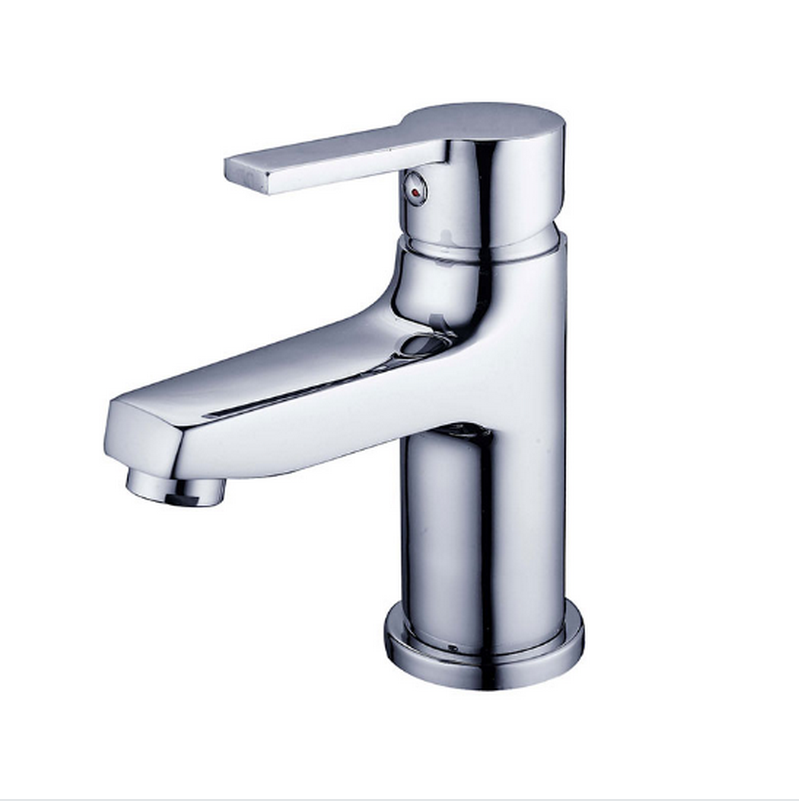
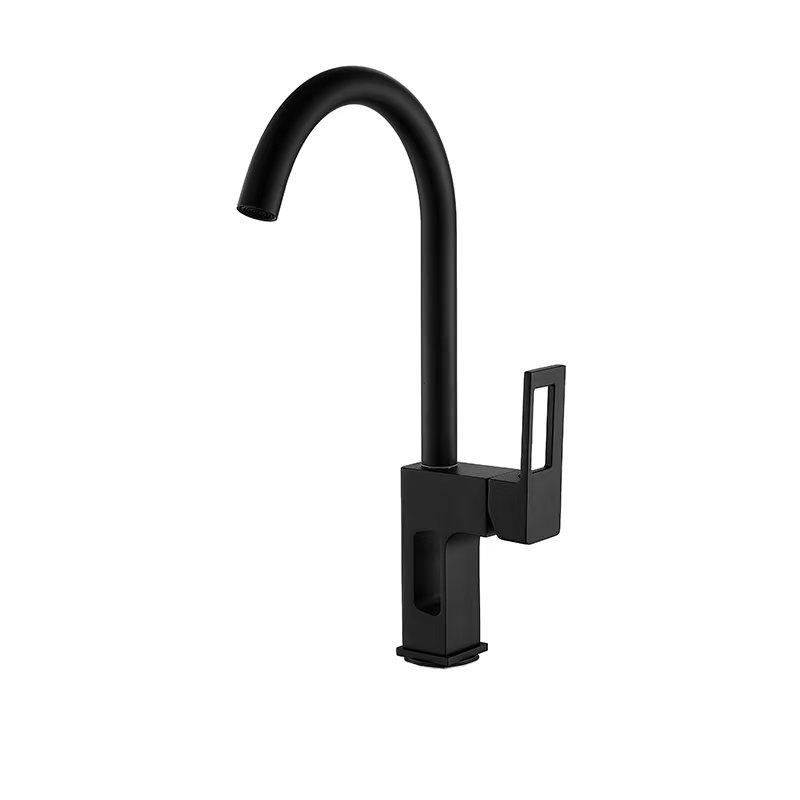
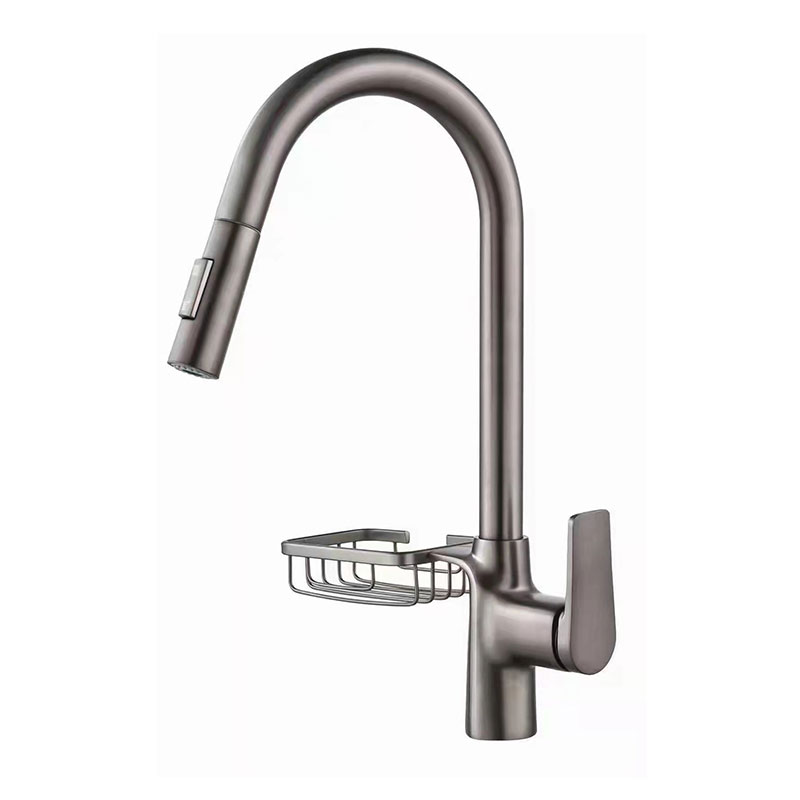
As an indispensable part of the kitchen, the kitchen faucet has undergone changes and technological innovations over the years. With the increase in the length of use or the shift in functional needs, replacing kitchen faucets becomes a task that many housewives or renovation enthusiasts may face. Knowing the right way to replace your kitchen will not only ensure that your new faucet is installed and in good working order, but it will also make it easy and efficient to replace your kitchen facilities without unnecessary hassle and loss. Next, let’s take a closer look at how to replace your kitchen faucet.
I. Gather Necessary Tools and Materials
Before starting the replacement process, it is essential to have all the required tools and materials on hand. This will ensure a smooth and efficient installation.
Tools:
Adjustable wrench: Used to loosen and tighten nuts and bolts.
Basin wrench: Helps reach and turn nuts in tight spaces under the sink.
Screwdriver: May be needed to remove any screws holding the old faucet in place.
Plumber’s tape: To create a watertight seal on threaded connections.
Towels or rags: For cleaning up any spills or leaks.
Materials:
New kitchen faucet of your choice. Make sure it comes with all the necessary parts and installation instructions.
Replacement washers and O-rings (if not included with the new faucet).
II. Shut Off the Water Supply
Steps:
Locate the shut-off valves under the kitchen sink. There are usually two valves, one for the hot water supply and one for the cold water supply.
Turn the valves clockwise until they are completely closed. This will stop the water flow to the faucet.
Open the faucet to release any remaining water pressure in the lines. Let the water drain completely.
III. Remove the Old Faucet
Steps:
Use a screwdriver to remove any screws that are securing the old faucet to the sink or countertop. These screws may be hidden under decorative caps or covers.
Disconnect the water supply lines from the old faucet. Use an adjustable wrench to loosen the nuts connecting the lines to the faucet. Be careful as there may still be some residual water in the lines. Have a towel ready to catch any spills.
If the faucet has a mounting nut or nuts underneath the sink, use a basin wrench to loosen and remove them. This may require some maneuvering in the tight space under the sink.
Once the mounting nut(s) are removed, carefully lift the old faucet out of the sink.
IV. Prepare the New Faucet
Steps:
Inspect the new faucet and all its parts. Make sure everything is included and in good condition.
If the new faucet requires any assembly, follow the manufacturer’s instructions carefully. This may include attaching the spout, handles, and any other components.
Wrap plumber’s tape around the threaded ends of the faucet’s supply tubes or shanks. This will help create a watertight seal when connecting to the water supply lines.
V. Install the New Faucet
Steps:
Insert the new faucet through the holes in the sink. Make sure it is properly aligned and centered.
From underneath the sink, thread the mounting nut(s) onto the faucet shank(s) and tighten them using a basin wrench or adjustable wrench. Be careful not to overtighten as it could damage the sink or faucet.
Connect the hot and cold water supply lines to the corresponding inlets on the new faucet. Use an adjustable wrench to tighten the connections, but again, avoid overtightening.
Check that the faucet is stable and properly installed. There should be no wobbling or loose parts.
VI. Turn On the Water Supply and Check for Leaks
Steps:
Slowly turn on the hot and cold water shut-off valves under the sink. Open the faucet and let the water run for a few minutes.
Check all the connections, including the water supply lines and the mounting points of the faucet, for any leaks. If you notice any leaks, turn off the water immediately and tighten the connections as needed.
If the leaks persist, check the plumber’s tape and make sure the connections are properly sealed. You may also need to replace any faulty washers or O-rings.
By following these steps carefully, you can successfully replace yourBy following these steps carefully, you can successfully replace your kitchen faucet and enjoy the new functionality and appearance it brings to your kitchen.

