Key points to consider:
Basic plumbing knowledge:
You should be comfortable with basic plumbing tools like wrenches and understand how to shut off the water supply to your bathtub.
Matching faucet type:
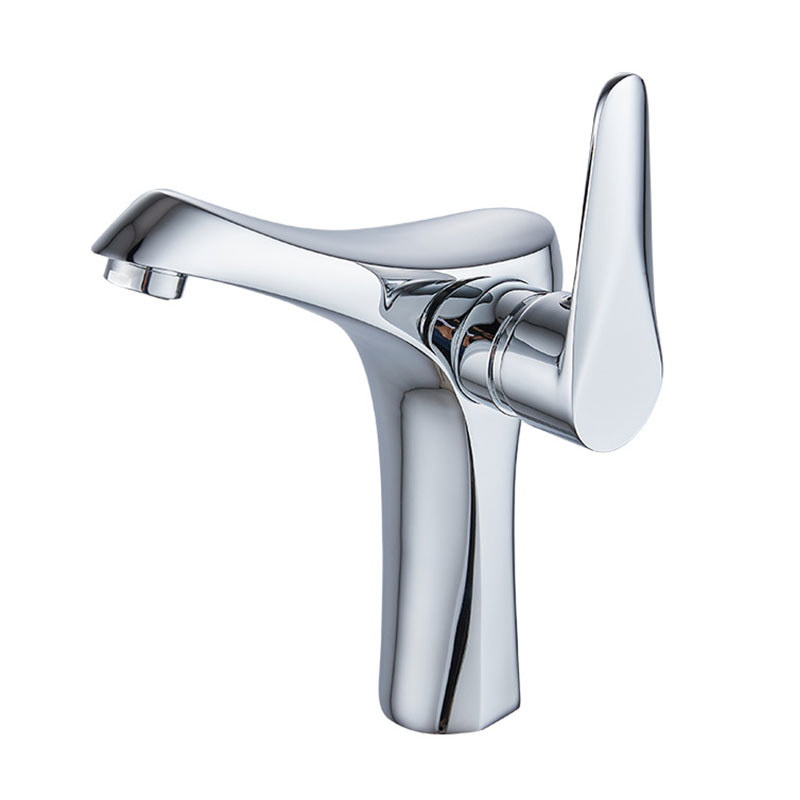
Replacing a single-handle faucet with another single-handle model is easier than switching to a two-handle system, which might require additional plumbing work.
Access to the plumbing:
Check if your bathtub has easy access to the plumbing behind the faucet to make the replacement process smoother.
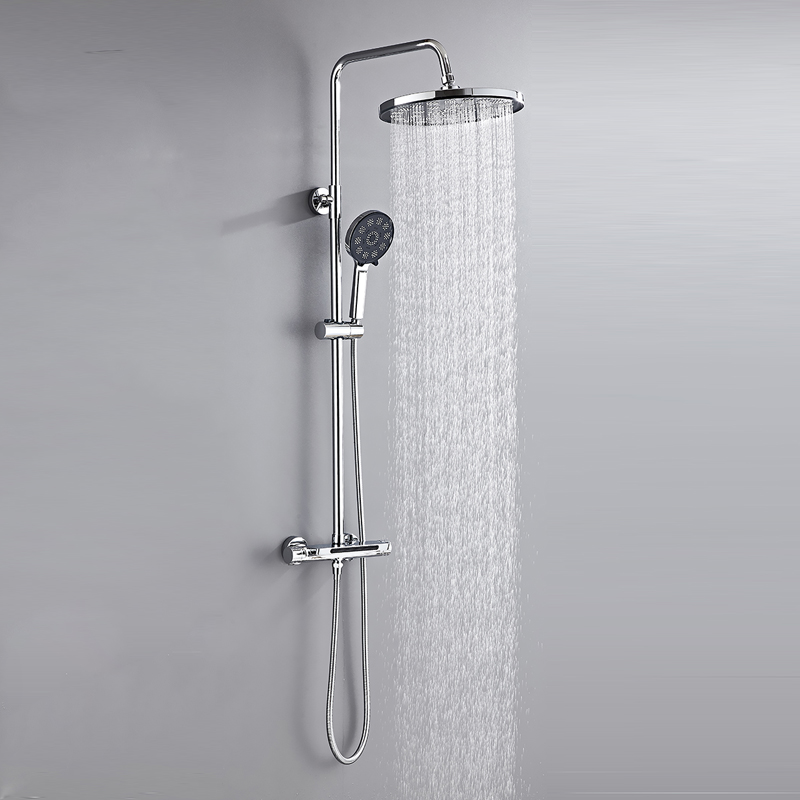
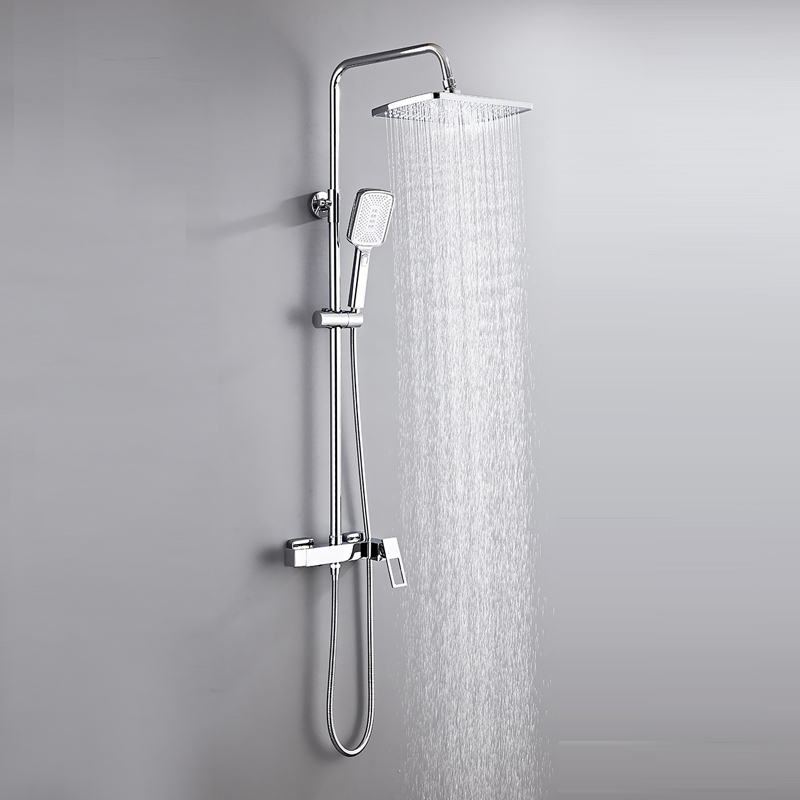
Tools and Materials You'll Need
Before you begin, gather the following items: a new bathtub faucet (which may be part of a comprehensive Shower Set depending on your choice), a basin wrench, a hacksaw, plumber's tape, a screwdriver, and a bucket to catch any water that may drip.
Step 1: Turn off the Water Supply
Locate the shut - off valves under the sink or near the water heater. These valves control the water flow to the bathtub faucet. Turn them clockwise to shut off the water completely. Open the faucet to release any remaining water in the pipes. This step is crucial to prevent water from spraying everywhere during the replacement process.
Step 2: Remove the Old Faucet
Start by removing the handle of the old faucet. Usually, there's a small screw or cap on the handle. Unscrew it using a screwdriver and pull the handle off. Next, you'll see the escutcheon, which is the decorative plate around the faucet. Pry it off gently. Behind the escutcheon, you'll find nuts that hold the faucet in place. Use a basin wrench to loosen and remove these nuts. If the nuts are too tight or corroded, you may need to use a hacksaw to carefully cut them off.
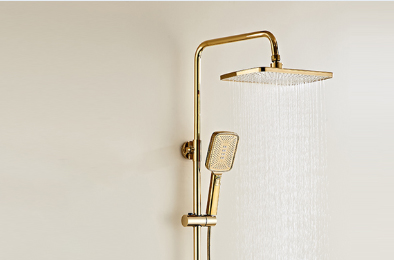
Step 3: Prepare the New Faucet (from the Shower Set)
If you've purchased a new Shower Set that includes a bathtub faucet, carefully unpack it. Check that all the parts are present. Apply plumber's tape to the threads of the new faucet. This helps create a watertight seal. Wrap the tape clockwise around the threads several times.
Step 4: Install the New Faucet
Insert the new faucet into the hole in the bathtub where the old one was removed. Make sure it's properly aligned. Then, secure the faucet in place by tightening the nuts from the underside of the bathtub. Use the basin wrench to tighten them firmly, but be careful not to overtighten and damage the faucet.
Step 5: Connect the Shower Set Components (if applicable)
If your Shower Set comes with additional components like a showerhead or a diverter, connect them according to the manufacturer's instructions. Usually, connecting the showerhead involves screwing it onto the shower arm. The diverter, if present, may need to be installed in a way that allows you to switch between the bathtub faucet and the showerhead water flow.
Step 6: Turn on the Water Supply and Test
Slowly turn on the water supply valves. Check for any leaks around the faucet connections. If you notice any leaks, turn off the water and tighten the connections further. Once you're sure there are no leaks, test the new faucet and the showerhead (if part of the Shower Set) to ensure proper water flow. Adjust the temperature and water pressure as needed.
By following these steps, you can successfully replace your old bathtub faucet, and with the addition of a new Shower Set, you can transform your bathroom into a more comfortable and functional space.