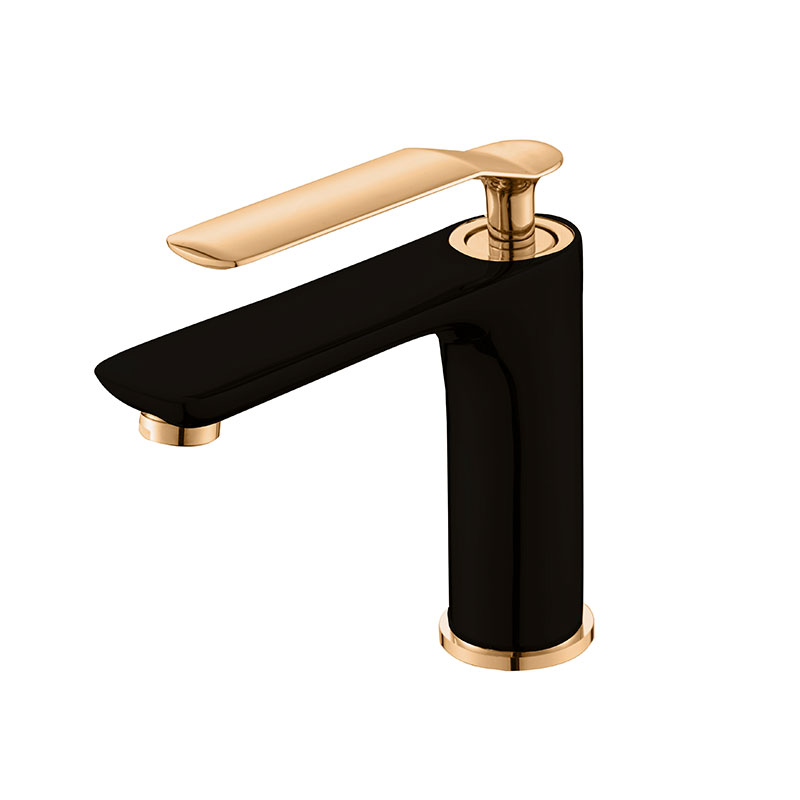
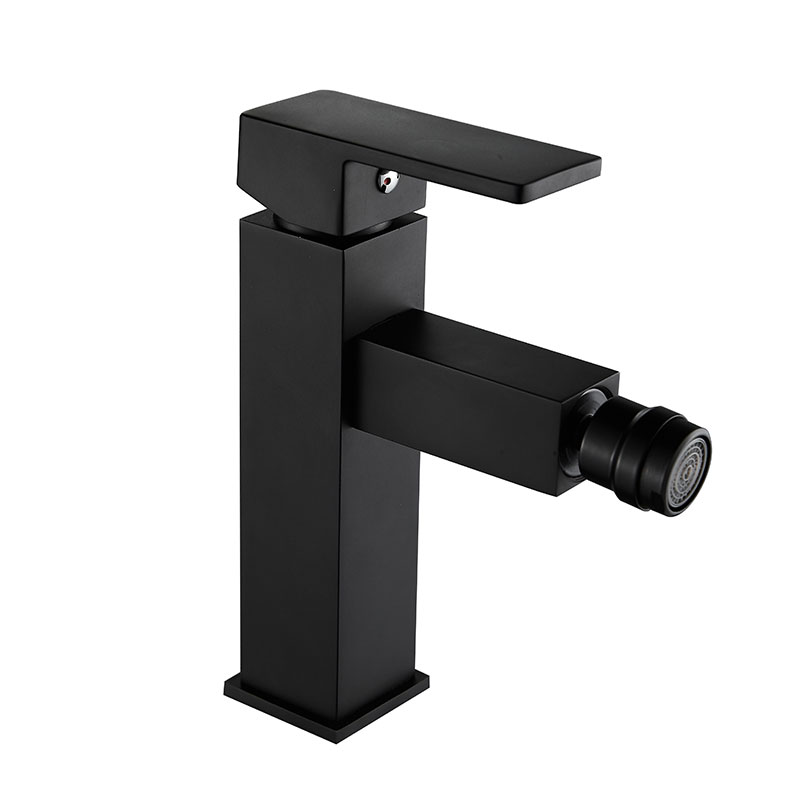
Leaky wash basin faucets not only waste water but also increase household water bills.
If you find that your basin faucet is dripping or leaking, don’t worry, this is not a complicated repair process and you can try to solve the problem yourself.
What are the steps in repairing a leaking faucet?
1. Turn off the water source
Before starting repairs, be sure to turn off the water source to prevent water from continuing to leak.
(1) Close the valve
Usually, there is a separate valve under the basin that can be used to shut off the water.
(2) Or turn off the main water source
If you can’t find a separate valve, you can also turn off the main water supply to the entire house.
2. Disassemble the faucet
Use a wrench to unscrew the top collar of the faucet. Then, use a wrench to unscrew the faucet core.
How to easily remove a faucet?
If you can’t easily remove the core, you can use lubricant to make the faucet easier to remove.
3. Replace the sealing ring
At the bottom of the core you will see a seal. Damage to this seal is one of the main causes of faucet leaks.
Use a wrench to unscrew the sealing ring and replace it with a new one of the same size.
4. Check other parts of the faucet
If your faucet is still leaking after replacing the seal, you may need to further inspect other parts of the faucet.
Why is my faucet still dripping?
You can use a wrench to remove other parts and check for any wear or damage. Replace these parts if necessary.
5. Reassemble the faucet
After inspecting and replacing all necessary parts, place the core back into the faucet and tighten the core and top collar with a wrench.
6. Turn on the water source
Turn the water back on and check to see if the faucet is still leaking. If the problem has been resolved, you can continue to use the faucet.
Summarize
Fixing a leaking vanity faucet is not a difficult process and as long as you follow the steps above, you can easily fix the problem.

