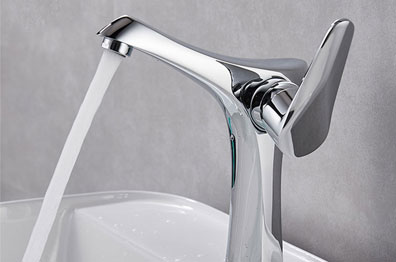
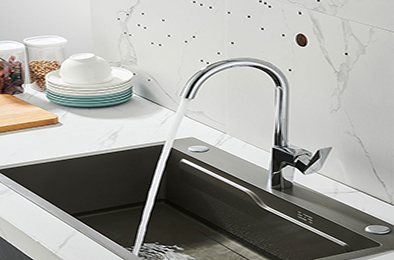
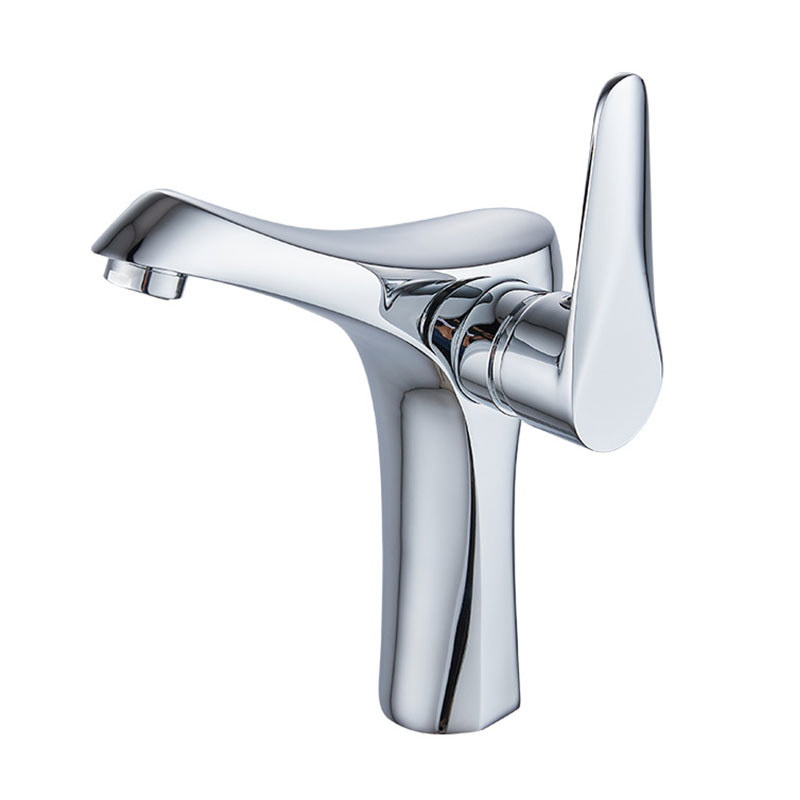
Installing a basin faucet might seem like a daunting task, but with the right tools and a step-by-step approach, it can be accomplished easily and efficiently. Here is a comprehensive guide on how to install a basin faucet.
I. Tools and Materials Required
Before starting the installation process, make sure you have the following tools and materials at hand:
●Basin faucet of your choice
●Adjustable wrench
●Plumber's tape
●Screwdriver
●Basin wrench (if needed)
●Towels or rags for cleaning up spills
II. Preparation Steps
1.Turn off the Water Supply
Locate the shut-off valves under the sink and turn them off. This will prevent any water from flowing while you are working on the faucet installation. It is a crucial step to avoid water damage and ensure a safe working environment.
2.Remove the Old Faucet (if applicable)
If you are replacing an existing faucet, use the adjustable wrench to disconnect the water supply lines from the old faucet. Then, unscrew the nuts that hold the old faucet in place. Be careful as there might be some residual water left in the lines, so have a towel ready to catch any spills. Once the nuts are removed, lift the old faucet out of the sink.
III. Installing the New Basin Faucet
1.Prepare the Faucet
Inspect the new faucet and make sure all the parts are included and in good condition. Wrap plumber's tape around the threads of the faucet shanks. This will help create a watertight seal and prevent leaks.
2.Place the faucet through the holes in the sink. From underneath the sink, attach the mounting nuts and tighten them using an adjustable wrench or a basin wrench if the space is tight. Make sure the faucet is properly aligned and sits straight on the sink.
3.Connect the hot and cold water supply lines to the corresponding inlets on the faucet. Use the adjustable wrench to tighten the connections, but be careful not to overtighten as it could damage the threads. Again, ensure a proper seal by using plumber's tape if necessary.
4.Once the faucet is installed and the water supply lines are connected, turn on the water supply valves slowly. Check for any leaks around the base of the faucet and at the connections of the water supply lines. If you notice any leaks, turn off the water immediately and tighten the connections or check the plumber's tape.
IV. Final Adjustments
1.Adjust the Faucet Handles
Test the faucet handles to make sure they turn smoothly and control the water flow and temperature as expected. If the handles are too loose or too tight, you may need to adjust the internal mechanisms according to the manufacturer's instructions.
2.Clean Up
Wipe down the faucet and the surrounding area with a clean towel or rag. Remove any tools or debris from under the sink.
By following these steps carefully, you can successfully install a basin faucet and enjoy its functionality and aesthetic appeal in your bathroom or kitchen. Remember, if you encounter any difficulties or are unsure about any step, it is always advisable to consult a professional plumber.


